


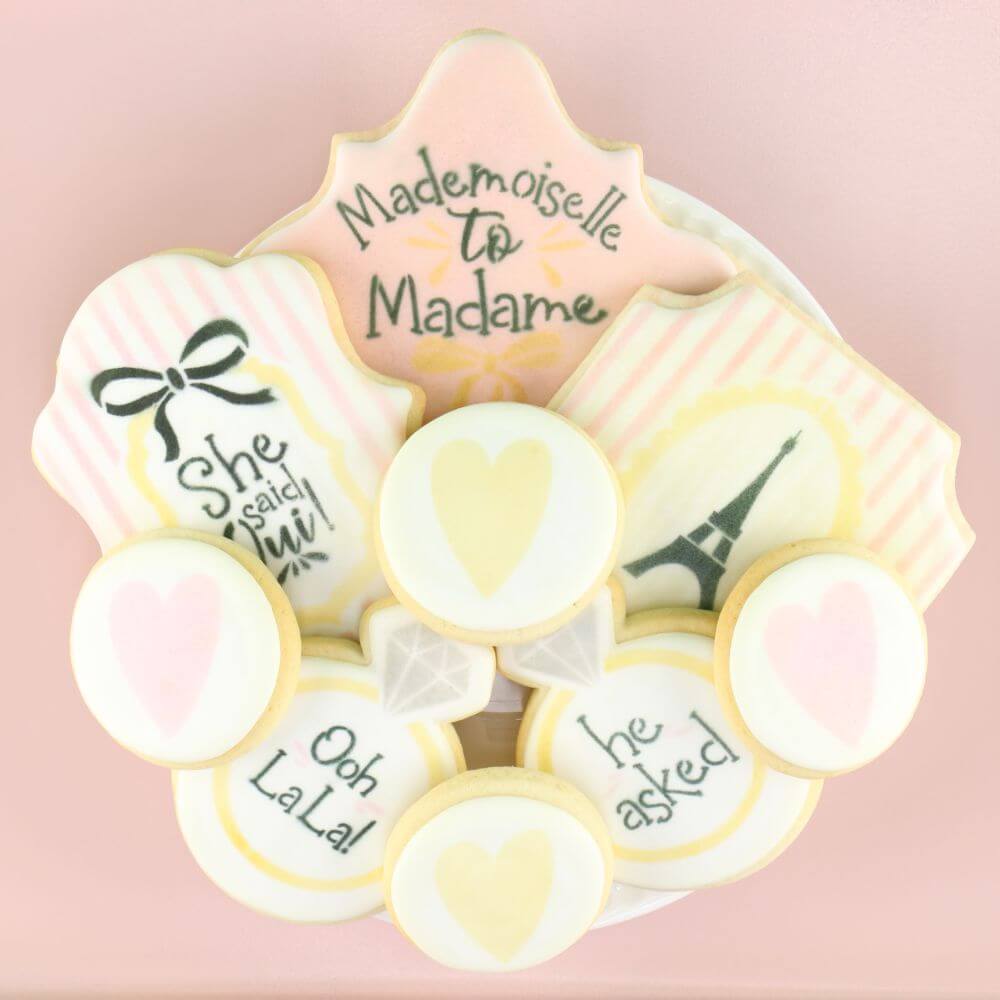
Video Tutorial for Cupid's Arrow Cookie Stencil for Valentine's Day
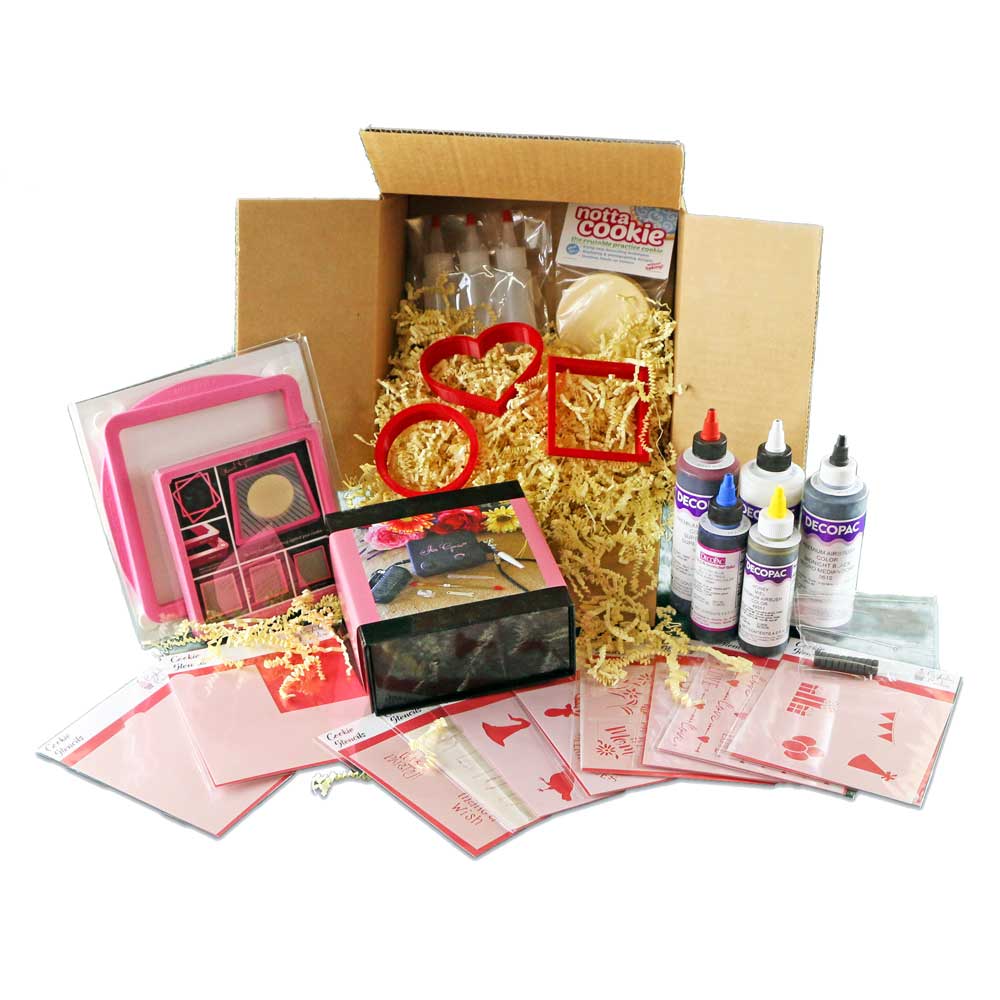
Love is in the air and what better way to show someone how sweet they are with Cupid's Arrow Cookies? Confection Couture's Cupid's Arrow cookie stencil is a great way to decorate your baked goods and there are many ways to use it! You will need the following tools:
Stencil Genie
Cookie Magnets
Tapered Offset Baker's Spatula
Cookie Stencil Scraper
Using royal icing with your stencils is a quick way to replicate the stencil design with your favorite color of royal icing. Simply place the stencil on the surface of your cookie, take up a bit of royal icing on your tapered bakers spatula, and spread it evenly through the design. When the icing is spread smoothly through the stencil, lift it directly off the surface of the cookie. Let the icing dry and it is good to go on your cookie platter or in a goody bag!
You can also use the stencil genie to spread icing onto multiple cookies. Load your stencil into the stencil genie, put some royal icing on the stencil, and spread it through the stencil using our mylar cookie scraping tool. Pass the mylar scraper over the stencil in multiple directions until the icing is spread evenly through the stencil. Once it is, lift the Stencil Genie straight off the cookie. Let the icing dry and then it's ready to eat!
One of our favorite ways to replicate the stencil design flawlessly is using an airbrush with DecoPac Food Colorant. Prepare your stencil by putting it into the Stencil Genie with the design over the top of the cookie. Shift and adjust the Stencil Genie so that your design is positioned properly on top of the cookie. With the stencil design in place, put the Cookie Magnets around the edges of the cookie so that the design is pressed to the surface of the cookie. Put your DecoPac Food Colorant into your airbrush and test the flow of the spray onto a piece of paper towel. Hold the airbrush over the stencil and spray it through the stencil design. Build the color slowly so the airbrush color does not bead on the surface of the cookie. Once your have full coverage, remove the magnets from the stencil and lift the Stencil Genie off the cookie surface. Move the Stencil Genie to the next cookie and you're ready to airbrush your whole batch!
Collections
-

Cookie Stencil Value Bundles
Get more for less with our Multi-piece cookie stencil sets for a...
-
Cookie Confection Collections
Seasonal and curated sets of cookie stencils and accessories, introduced monthly for one...
-
Project Boxes
Our Project Boxes and Kits are bundled options of Stencils, Cutters and...
-
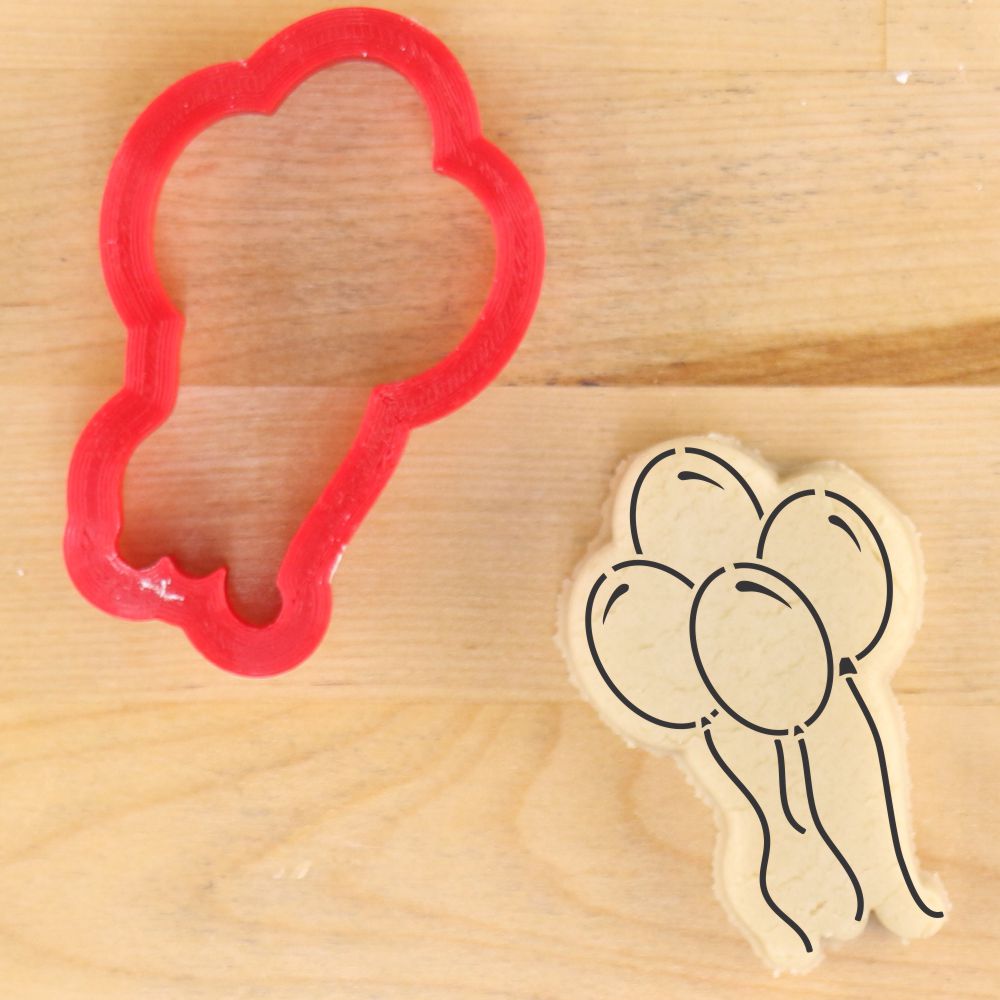
Cookie Stencils with Cookie Cutters
What is better than the perfect cookie cutter? The perfect cookie stencil...


