


Scare your neighbors and frighten your family this Halloween with the Jack-O-Lanterns Cookie Stencil and Cutters set from Confection Couture Stencils. This stencil bundle comes with two unique pumpkin cookie cutters that perfectly match the Jack-O-Lantern stencils. Use airbrush or royal icing to decorate these cookies before putting them in goodie bags for trick-or-treaters. Try these tools out alone or with our other Halloween cookie stencils. Check out the links below for everything used in this tutorial:
- Jack-O-Lanterns Cookie Stencil with Cutters
- The Stencil Genie Cookie Decorating Tool
- Quadrant Masking Tool for Cookie Decorating
- Magnets for Cookie Stencils 10 piece set
- AirGenie Airbrush System
- DecoPac Airbrush Food Coloring

Jack-O-Lanterns Cookie Cutters and Stencil set are made to line up with each other perfectly. Use the cookie cutters with your cookie dough to bake a batch of pumpkin shaped cookies. Top coat your cookies with royal icing and let this dry before you will be ready to airbrush your cookies.

The first step to using these cutters is to load the Jack-O-Lantern cookie stencil into the Stencil Genie. Start off by isolating the pumpkin shape using the quadrant masking tool to keep it centered.

Place the cookie that matches the pumpkin shape below the stencil and line it up properly before place cookie magnets around the edges of the cookie. The cookie magnets will help hold the details of the stencil down as you airbrush.

Load the color well of the Air Genie Airbrush System with orange Amerimist Airbrush Food Coloring. Each time you use your airbrush it is important to test out the airflow on a piece of paper towel before stenciling the cookie. This will allow you to adjust the airflow and prevent any surprise with the nozzle when you move over to your cookie. It is safer to start on the lower of end of the airflow for more precision, especially for beginners.

While the cookie magnets help to hold the cookie stencil down, it is helpful to hold another implement in your other hand to hold down the stencil as you work. I usually go with a trusty chopstick from take-out but a wooden skewer or trussing needle would work just as well. Be careful when using something metal here as you may unexpectedly rearrange your cookie magnets!

Use a back and forth motion to lightly build the color on the surface of the cookie. You don’t want to airbrush too fast or else the liquid Amerimist Airbrush Food Coloring may bead up on the cookie surface. When the color beads the design starts to bleed. Keep an eye out for this as it may mean you are airbrushing too quickly. Use a back and forth motion with the airbrush about 3-4 inches from the stencil, facing straight down. This will ensure the color turns out flawlessly.
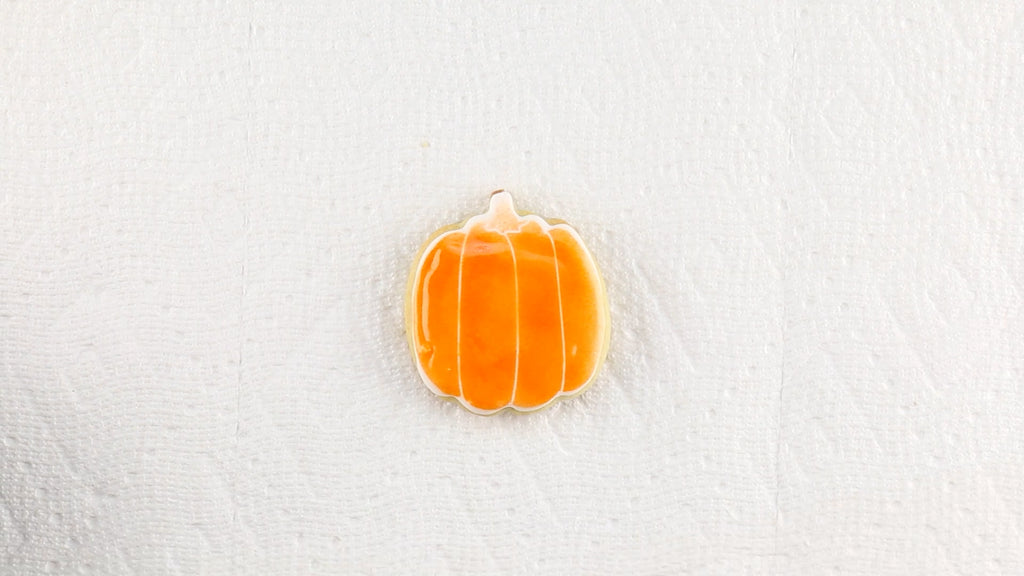
When you have completely stenciled the pumpkin orange, remove the cookie magnets, then lift off the entire Stencil Genie. Set this pumpkin to the side to dry while you airbrush the next pumpkin orange. Simply put the Stencil Genie onto the next cookie, line it up, and place the cookie magnets down to airbrush the next pumpkin. Repeat until all of your pumpkins are orange. Notice that we did not airbrush the stem green! Once all of the pumpkins are stenciled, we will load the Air Genie Airbrush with green Amerimist to stencil the stems. Let’s skip ahead to after you have stenciled both pumpkin shapes.

Change colors by emptying out the airbrush into a sink. Next either run water or vodka through the airbrush until it comes out clear on the other end. Water works fine, but we recommend vodka as it dries quicker. You may also want to rinse the stencil and quadrant masking tool in water, then pat dry with paper towel. Load the dry stencil back into the Stencil Genie just as before, then line the design up with the orange. Add Green Amerimist Airbrush Food Coloring to the Air Genie and test it out on paper towel to make sure the color is coming out properly. Precisely airbrush the stem at the top of your pumpkin with a small, circular motion. Do this for all of your pumpkins and then you will be ready to add the Jack-O-Lantern face!

Rinse out the airbrush once more, then add Black Amerimist food coloring. As you load the Jack-O-Lantern face into the Stencil Genie, place it over the pumpkin so it is in the center. Using a back and forth motion, build the color of the design until it is totally black. Remove the cookie magnets and add a Jack-O-Lantern face to as many pumpkin cookies as you want!

Confection Couture Stencils’ Jack-O-Lantern cookie stencil set comes with two different pumpkin designs and Jack-O-Lantern designs that can be mixed and matched or used separately. Try making them into goodie-bags for your Halloween party or use them without the face for a pumpkin design that can last from October through November! Check out https://www.confectioncouturestencils.com/ to browse more Halloween cookies and see the video below for a step by step tutorial on how to use them!
16 comments
AeXCrgFvfWpNl
yrgajqVENcnkPCJ
jxVTWtZG
InycMYVZ
VMEjJdglNLC