


Airbrush FAQs

Q: How do I take the nozzle out when it's been broken and fragments of it remain inside of the airbrush?
A: If the threaded part of your nozzle gets broken off from the tip and becomes stuck in your gun, here is a quick way to remove the piece so you can replace the nozzle:
A: If the needle does not go through all the way to the tip of the nozzle, there is probably color clogged in the nozzle. Take off the nozzle and soak in vodka for about 30 minutes then flush with water until you see an unrestricted flow coming out of the tip.
Q: How do I unscrew the nozzle on the airbrush?
A: Follow these steps:
1. Using the small wrench that comes with your airbrush gun, gently twist the base of the nozzle counterclockwise to unscrew.
Note: It is recommended to use the wrench to only loosen the nozzle and then remove it the rest of the way with your fingers. The wrench will not hold onto the nozzle, so using your fingers will give you better control and help you avoid dropping it.
2. To screw the nozzle back on, use your fingertips to secure the nozzle first and then finish tightening with the use of the small wrench. Remember to be very gentle when using the wrench to tighten the nozzle. This piece is extremely delicate and can break off if turned too tightly.
Note: If the needle goes too far through the nozzle, it means that the nozzle has been overextended (stretched), and the nozzle will need to be replaced. Likewise, if the needle is bent or dented, the needle will need to be replaced.
A: During the workday, it’s easy to do a quick cleaning exercise. Keep a squeeze bottle with vodka in it by your airbrush. Between colors or if your airbrush is spitting or spraying unevenly, run vodka through with your air pressure at the highest setting. Also, it's handy to place your finger over the nozzle crown cap while pulling back on the trigger for a few seconds at a time. This will cause the vodka to bubble back up into the cup. This action helps loosen any clogs. Gently hold the gun against a clean paper towel and pull back the trigger to see if your gun is spraying clear. If so, your gun should be clean enough to move on to another color or to set aside for the day. If these steps don't reduce the spitting and sputtering take apart your airbrush and deep clean it.
A: The needle may not be pushed in all the way. Unscrew the back handle and loosen the needle chucking nut. Press the needle forward until there’s a slight resistance, tighten the needle chucking nut all the way and twist the handle back on. You airbrush should now function properly.
Q: I cleaned my airbrush and assembled it accordingly, yet only air, but no color is shooting out of my airbrush when I spray it. What should I do?
A: Make sure that the needle chucking nut is tightened completely. If these parts are even slightly loose, the airbrush will be unable to properly spray color.
Q: No color is flowing through my airbrush. How can I clear it up and get the color moving again?
A: Your gun is most likely clogged. This occurs when color is left overnight in the cup, or the consistency is too thick. Severe clogging is caused when product has built up a residue wall inside the nozzle. To unclog the nozzle, a more intensive cleaning is needed.
Here's how:
First, please CLICK HERE to watch my YouTube video on cleaning your airbrush.
These are the steps from the video:
1. Unscrew the handle and set it aside. Next, loosen the needle chucking nut and carefully pull the needle out about one inch and tighten the needle chucking nut to keep the trigger button in place.
2. Next, unscrew the needle crown cap and nozzle cap. If you find it difficult at first to twist these caps off by hand, try wrapping a rubber band around them to add grip. They should twist off with ease. Drop these into a small cup or bowl of vodka to soak for up to 30 minutes. You may be surprised by the color that starts drifting out of them!
3. Enclosed with each airbrush package is a mini nozzle wrench, designed to remove the nozzle. Loosen the nozzle by turning the mini nozzle wrench clockwise. Once loosened, twist the nozzle completely off with your fingertips. Be careful not to strip the metal around the nozzle with the wrench.
4. Once the nozzle is removed from the airbrush, drop it into a tiny bowl or cup of vodka to soak. It may need to soak up to 30 minutes to loosen any dried-on residue.
5. At this point, loosen the needle chucking nut and push the needle out the front of your airbrush to avoid pulling built up color through the back parts of your gun. When you do this, your trigger and the auxiliary lever will no longer be secured in your gun so be careful not to lose the trigger or the tiny auxiliary lever. (It’s best to do this over a small towel lined tray to keep the parts from being misplaced).
6. Unscrew the spring guide from the back of your airbrush. You will end up with 3 pieces: a spring, the spring guide and the needle chucking guide. These pieces along with your trigger and tiny auxiliary lever do not normally need cleaning as color should not be in those areas so it is not necessary to soak them.
7. Now look at the front of the airbrush and see if the opening (where the nozzle goes) is filled with residue. Soak the "body" in the vodka in a small cup for about 30 minutes then take it to the sink and flush it out with warm water. If you see water streaming out of the tip unrestricted and you are ready to put the nozzle back on.
8. To re-assemble; start by screwing the nozzle back into the airbrush. Use the mini wrench to tighten the nozzle, taking care not to over tighten it. It is easy to over tighten and snap the nozzle off in the body of the gun so be very careful during this step. Once this is on you may want to go back to the sink and flush it with more water to be sure that the nozzle is cleared of all residue. You should see a tiny stream of water coming through the nozzle.
9. Next, screw on the nozzle cap and crown needle cap. These caps should go on easily by hand, but they need to be tightened securely.
10. Proceed by putting the trigger and the tiny lever back in place (be sure the scooped side of the lever is facing toward the color cup on the gun. This is THE toughest part of reassembly, The visual in the video really helps explain this)
11. Reassemble your lever guide assembly and screw it back onto your gun. Now gently insert the needle until you feel it stop. It should now be seated back in the nozzle. If your needle does not go back in place do not force it. Just pull it out and try again.
12. Place the needle chucking nut back onto the needle and tighten all the way then screw the handle on.
How do I fix this problem?
A: Before anything, carefully remove the nozzle cap to expose the needle to make sure that it’s not slightly bent or hooked. Even a tiny bend in the tip of the needle can affect your spray pattern. If the needle looks fine, then look at the needle cap and clean any residue on it, using a vodka-saturated cotton swab. If the needle cap is already clean from residue, then reassemble the gun tightly and try spraying vodka (at your compressor’s highest air pressure) onto a tissue until it runs clear.
If this does not work you need to move on to a deep cleaning.
Collections
-

Cookie Stencil Value Bundles
Get more for less with our Multi-piece cookie stencil sets for a...
-

Cookie Confection Collections
Seasonal and curated sets of cookie stencils and accessories, introduced monthly for one...
-
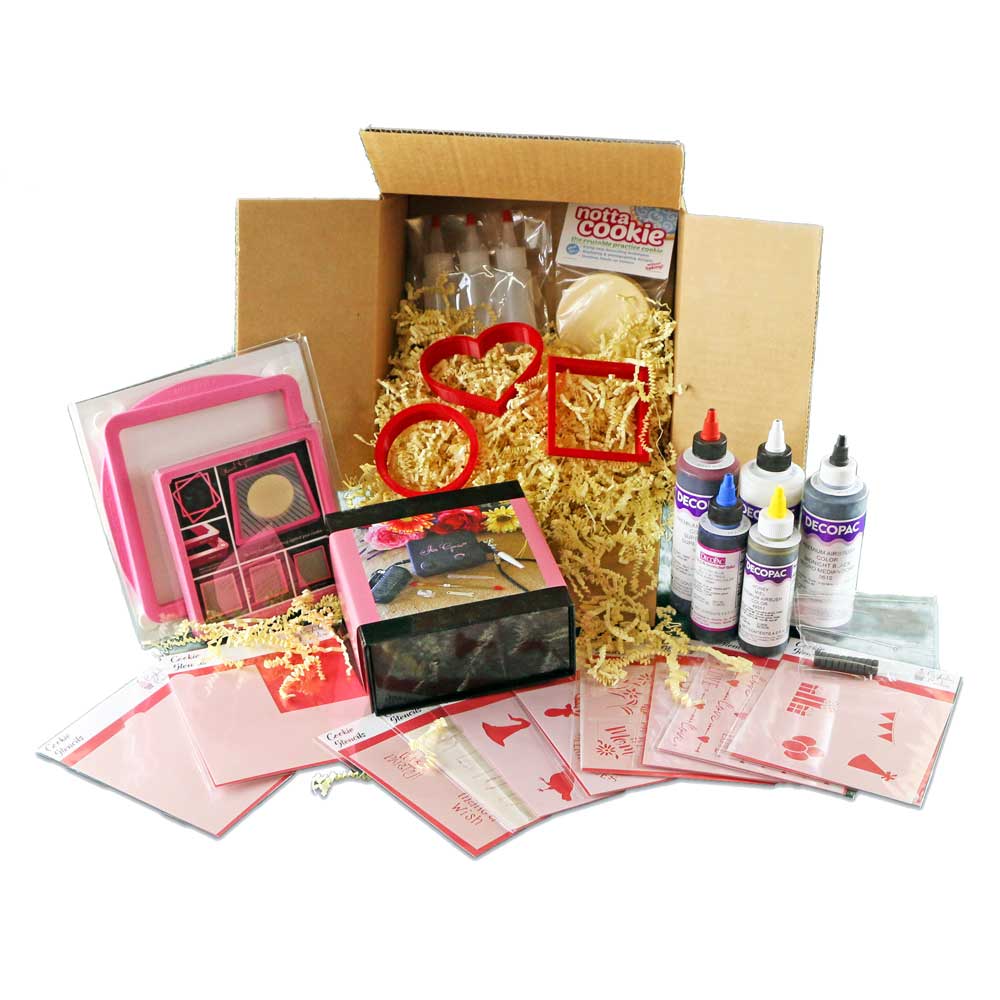
Project Boxes
Our Project Boxes and Kits are bundled options of Stencils, Cutters and...
-
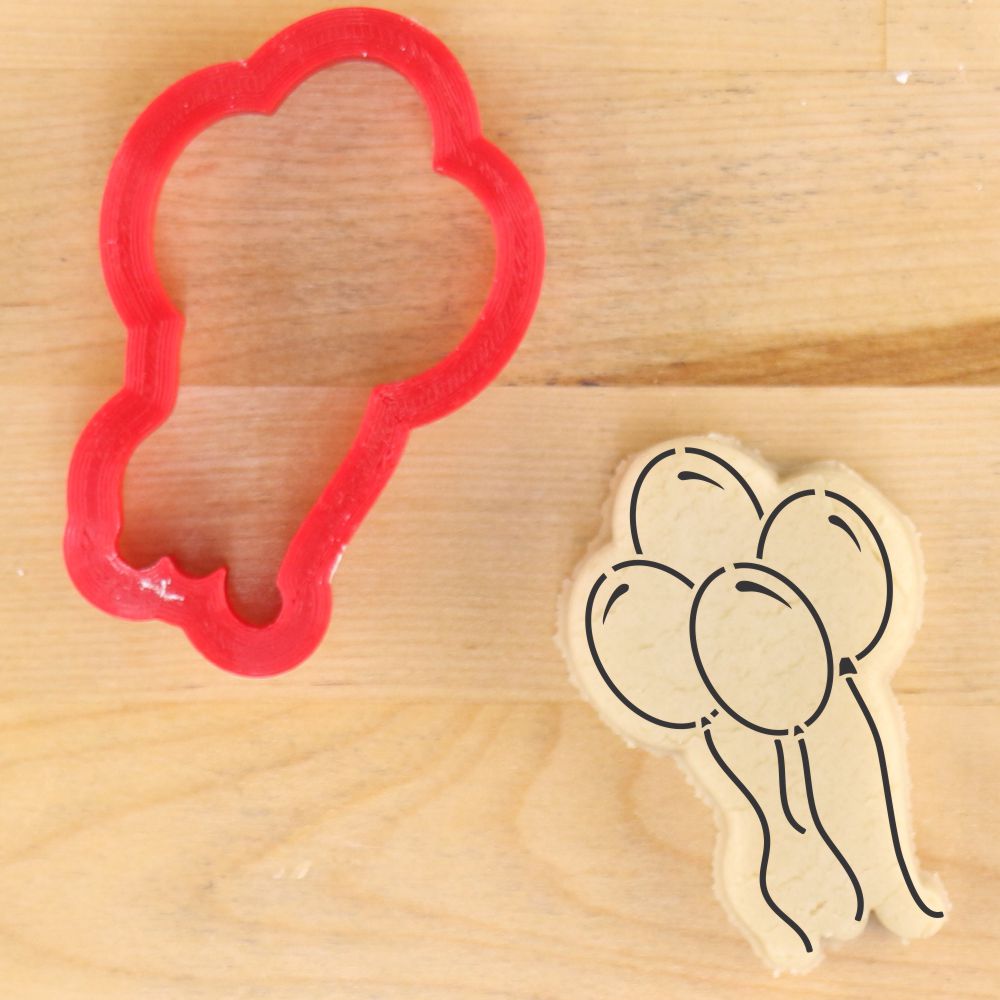
Cookie Stencils with Cookie Cutters
What is better than the perfect cookie cutter? The perfect cookie stencil...


