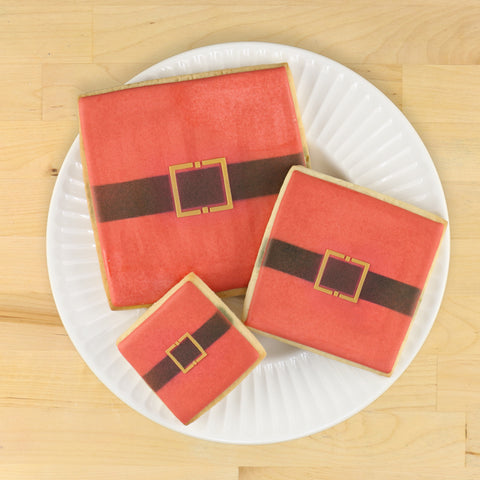
You won't be able to contain the joy when you serve up these Santa Belt Christmas Cookies from Confection Couture!
What can you I use to stencil cookies?
Whether it’s airbrushing or using royal icing, Confection Couture has everything you need to stencil the perfectly beautiful and whimsical cookie! This includes an incredible selection of stencil designs for all occasions, airbrush systems, colorants, and accessories.
What kind of icing do you use for cookie stencils?
Royal Icing works best for either coloring and creating the stencil itself or for creating a perfect surface onto which to airbrush your stenciled design.
Can you airbrush cookies?
It’s easy to create beautiful designs on cookies or cakes using our incredible selection of stencils and accessories!
What do you need to airbrush cookies?
Confection Couture has everything you need to create whimsical designs on your cookies or cakes for any occasion!
What is the easiest way to decorate cookies?
Using stencils, in conjunction with either airbrushing or royal icing, is a super easy way to create exciting themed cookies for any holiday or celebration or just for the fun of it!
Here's what you'll need:

- Santa Belts Cookie Stencil
- AirGenie Airbrush System
- Gyro-Cut Craft and Hobby Cutting Tool
- Cookie Magnets
- Plastic Bottle with Dropper Tip
- Stencil Genie
- Screen Genie
- Tapered Offset Baker's Spatula
- DecoPac Airbrush Food Coloring
- Midnight Black
- Honey
- Super Red (optional)
- Sugar Cookie ingredients
- Royal Icing ingredients
- Baking spatula
- Glad Press'n Seal
- Paper Towels
Baking
The first step, of course, is to bake all the cookies that you will need. Next, you can either flood them with red colored icing or use white icing and airbrush them with Super Red colorant.
Preparing to Airbrush


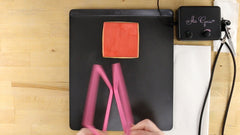
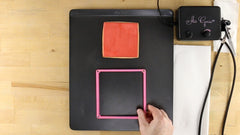
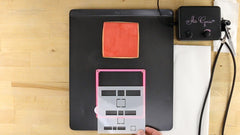


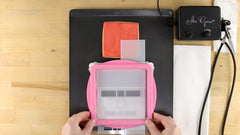

Load your AirGenie airbrush tool with DecoPac Midnight Black airbrush food coloring. Grab one of the 4" square cookies.
Next, separate the two halves of your Stencil Genie and place the thicker portion down, magnets facing up. Place your stencil over top with the largest belt design centered inside the square.
Use two Quadrant Masking Tools, one above and one beneath, to protect the areas surrounding the design from overspray.
Now, place your Screen Genie over the top and lock everything into place using the remaining piece of the Stencil Genie.
Airbrushing


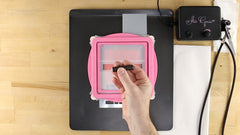

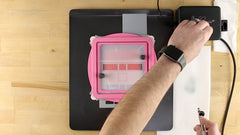


Place the entire assembly over your cookie, lining up the belt design with the center line of the cookie. Try using cookie magnets, in stacks of three or four, to help hold the stencil flat against the surface of the cookie.
Always test out the airflow on a paper towel prior to airbrushing each color and cookie. Adjust the flow as needed by turning the knob on top of the unit.
Airbrush the colorant through the stencil using numerous light coats. Lift away the assembly to reveal the finished belt element.
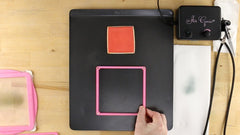

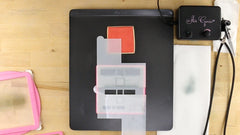


Repeat the above steps for the 3" square cookie.


Do the same for all the 2" cookies.
Preparing the Icing


For the buckle elements, take a small amount of white royal icing and add a few drops of Honey colorant. If desired, you can add a drop of Harvest Brown to the mix if the color comes out more yellow than gold.
Stenciling with Icing


Next, isolate the large buckle stencil element using the Stencil Genie and Quadrant Masking Tool...but not the Screen Genie. Line up the assembly so that the buckle is centered over the existing belt design.
Use a baker's spatula to spread a thin coat of the gold icing over the buckle design. Next, take a scraper and do one pass over the icing, leaving a layer the same thickness as the stencil.
Carefully remove the assembly to reveal the finished cookie.

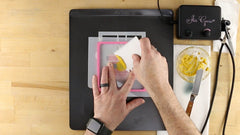
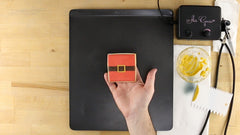
Repeat the above process for the buckle designs of the 3" cookies.


Complete the 2" cookies and your Santa Belt cookies are now complete!
