


When it's time for a thorough cleaning, your AirGenie airbrush tool will need to be disassembled.

Disassembly
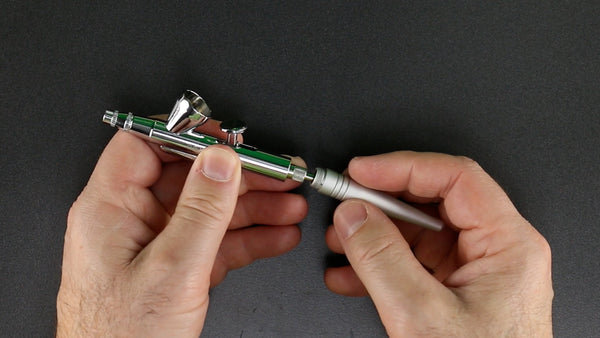
First unscrew and remove the handle.

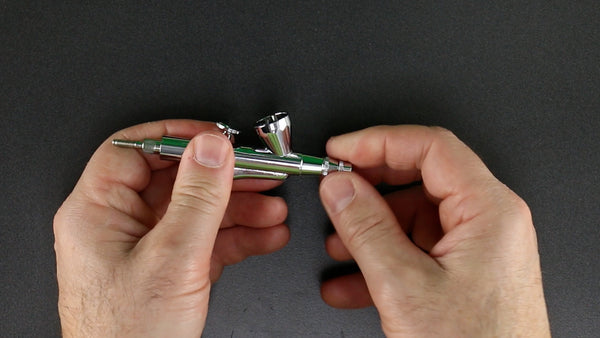
Next, remove the needle chucking nut.

This allows you to remove the needle. Be careful. It's sharp!
Now, unscrew the needle cap.

Next, remove the nozzle cap.

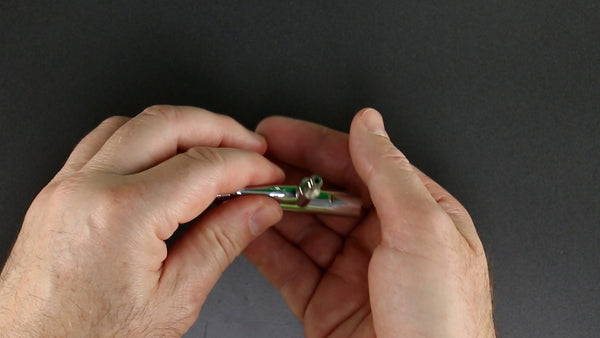
Now, take the small wrench that came with your AirGenie tool and loosen the nozzle.

Once loose, hold with the nozzle with your fingers and twist the entire body in order to unscrew.

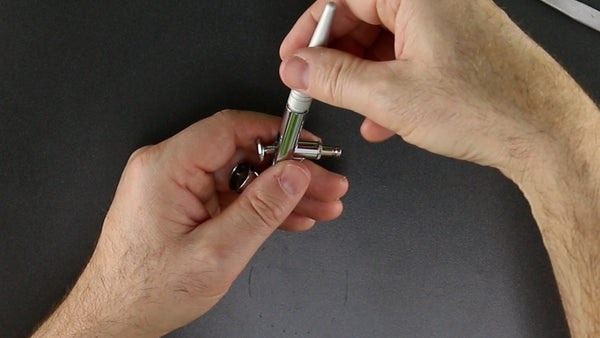
Next, unscrew and remove the spring guide.

Remove the needle chucking guide.

Separate spring from the needle chucking guide to ensure that you don't accidentally lose it.

Next remove the trigger by turning it 90° and pulling it out of the slot.
Now, turn the body upside and shake out the auxiliary lever.
Cleaning

Soak all of the components in either distilled water or an inexpensive 100-proof vodka for several minutes. If necessary, wipe down any parts that still contain food coloring residue. Carefully remove all the pieces and place aside until completely dry.
Reassembly

To reassemble your airbrush tool, first reinstall the nozzle.

Again, hold the nozzle between your fingers and turn the the body in order to screw it back into place.

Use the wrench to tighten.

Now, replace the nozzle cap.

Screw the needle cap back into place.

Next, take the trigger and insert into slot sideways before rotating 90° making sure that the grip lines on top face forward. There are two notches inside the body that the left and right pins fit into.

Hold the trigger in place while you insert the auxiliary lever using a pair of tweezers. The narrow end should face up and the bowed side should face the rear of the tool. This is the trickiest part of reassembly so use patience - it may require several attempts.

Once the lever is properly inserted, allow it to lean against the base of the trigger while you carefully insert the needle. Gently push the needle into the rear of the body and also through the opening in the auxiliary lever and trigger. The needle should travel through the entire unit coming to rest at the nozzle.

Next insert the needle chucking guide by turning it so that the slot facing downwards.

Place the spring over the guide.

Reattach the spring guide by screwing it back on until there is no more resistance and the threads are tight.

If everything is assembled properly, pulling back on the trigger should cause the needle to move backwards with it.

Next, screw the needle chucking nut back into position.
Lastly, reattach the handle.

Your AirGenie airbrush tool is once again ready to decorate your delicious delicacies!